Cleaning a revolver typically involves the following steps:
-
Ensure Safety: Before cleaning any firearm, make sure it is unloaded. Remove any ammunition from the revolver and visually inspect the barrel and chambers to confirm they are empty. Keep the revolver pointed in a safe direction throughout the cleaning process.
-
Gather Cleaning Supplies: Gather the necessary cleaning supplies, including a cleaning rod, bore brush, patches, cleaning solvent/lubricant, and a cleaning brush or toothbrush. These supplies can be found in firearm cleaning kits or purchased individually.
-
Disassemble if Necessary: Some revolvers can be partially disassembled for more thorough cleaning, while others can be cleaned without disassembly. Refer to the owner’s manual for specific instructions on disassembling your revolver, if required.
-
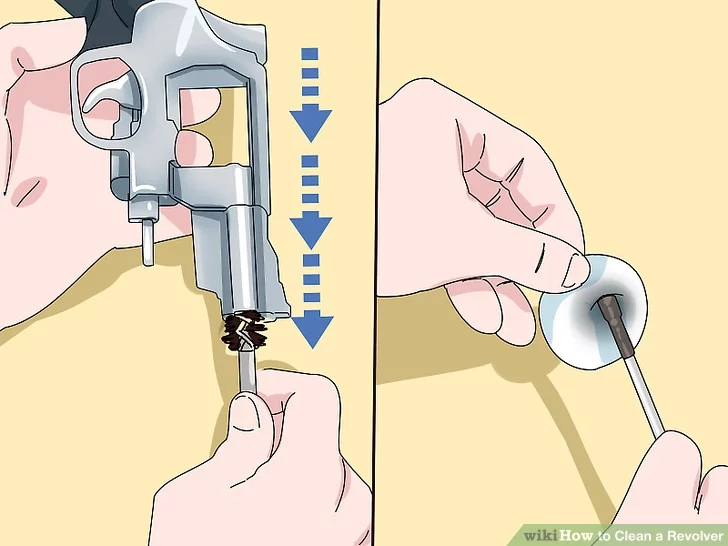
Clean the Barrel: Attach a bore brush to the cleaning rod and apply a small amount of cleaning solvent to the brush. Insert the rod into the barrel from the muzzle end and push it through the barrel a few times to scrub away fouling. Remove the bore brush and attach a cleaning patch to the rod. Moisten the patch with cleaning solvent and push it through the barrel to remove debris and solvent. Repeat this process with clean patches until they come out relatively clean.
-
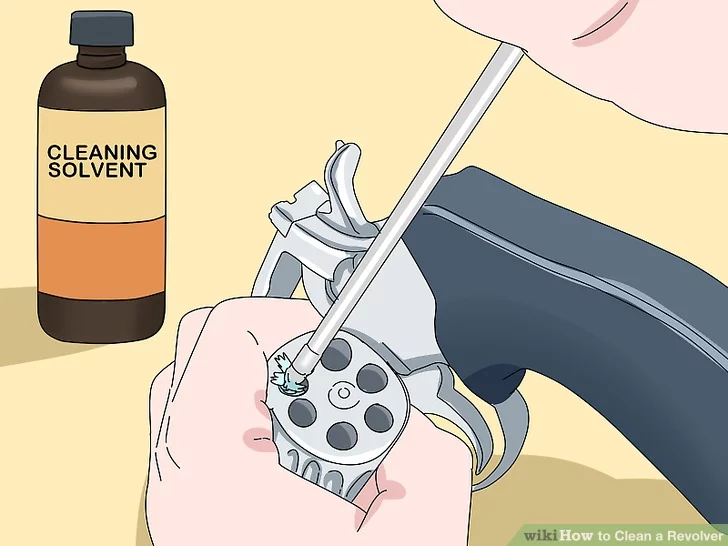
Clean the Chambers and Cylinder: Use a cleaning brush or toothbrush to clean the chambers and cylinder of the revolver. Apply cleaning solvent to the brush and scrub the chambers and cylinder thoroughly, paying attention to any carbon buildup or fouling.
-
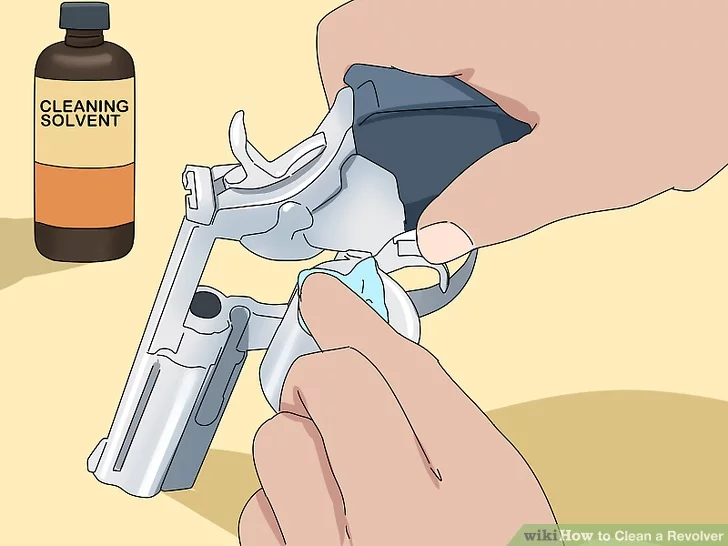
Wipe Down the Exterior: Use a clean cloth or patch to wipe down the exterior surfaces of the revolver, removing any dirt, oil, or residue. Pay attention to the frame, barrel, and cylinder.
-
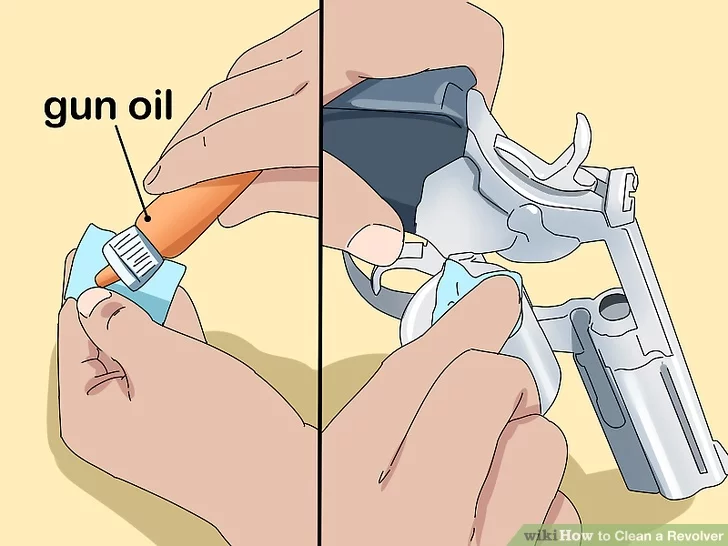
Lubricate Moving Parts: Apply a small amount of gun lubricant to a clean cloth or directly onto the moving parts of the revolver, including the cylinder release, trigger, and hammer. Be sure to follow the manufacturer’s recommendations for lubrication.
-
Reassemble if Disassembled: If you disassembled any parts of the revolver, carefully reassemble them according to the manufacturer’s instructions.
-
Final Inspection: Once the revolver is cleaned and lubricated, visually inspect it to ensure it is free of any debris or excess lubricant. Double-check that the barrel and chambers are clear before proceeding.
Always refer to the owner’s manual specific to your revolver model for detailed instructions on cleaning and maintenance. If you’re unsure about any aspect of cleaning your revolver, it’s advisable to seek guidance from a knowledgeable firearms instructor or gunsmith.


